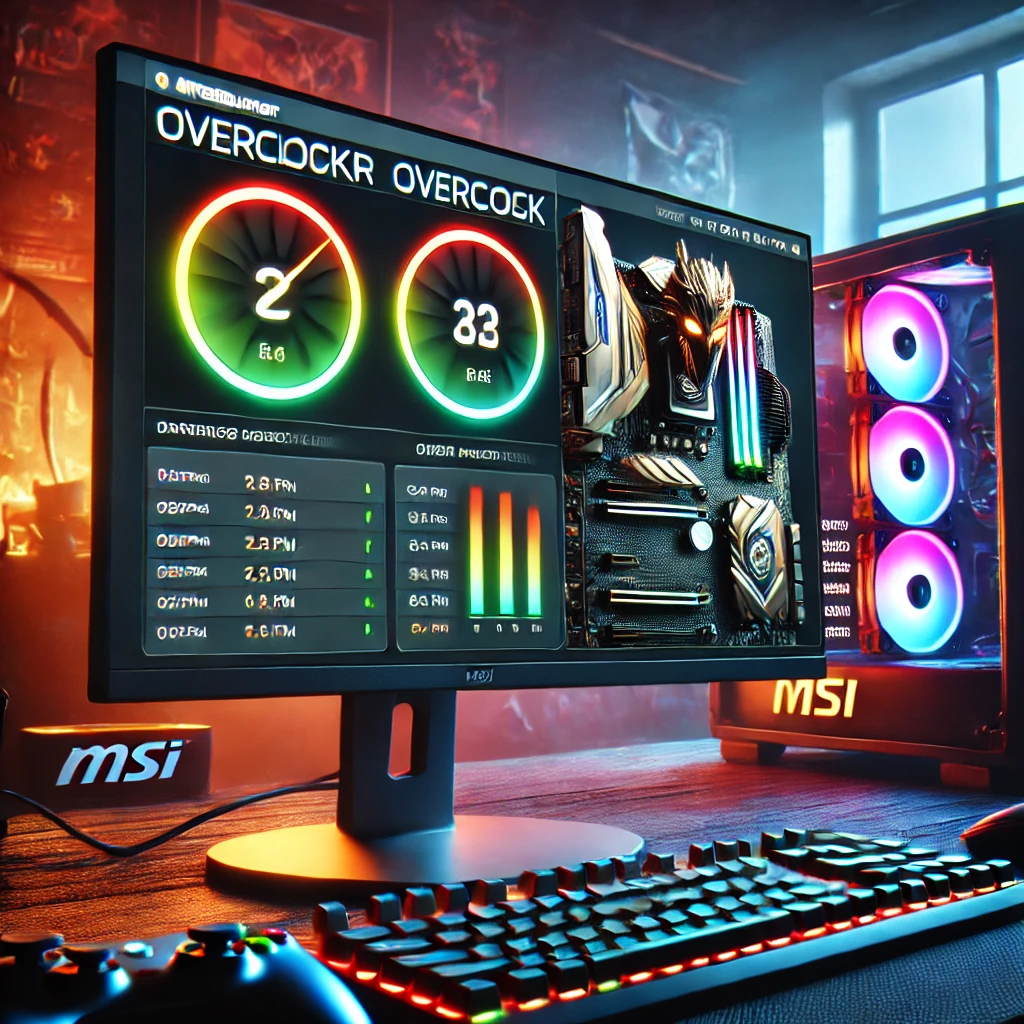
How to Install MSI Afterburner on PC

Overclocking your graphics card can dramatically improve your PC’s gaming performance. One of the most popular tools for GPU overclocking is MSI Afterburner. In this guide, we will walk you through the installation process and show you how to use the software to overclock your GPU.
What is MSI Afterburner?
MSI Afterburner is a free software that allows you to monitor and control your graphics card’s performance. It provides tools for overclocking, GPU temperature monitoring, and fan control, making it a must-have for gamers and PC enthusiasts who want to push their hardware to its limits.
Step 1: Download MSI Afterburner
To begin, you’ll need to download the MSI Afterburner software from the official MSI website. Make sure you download it from a trusted source to avoid malware.
- Go to the official MSI Afterburner page.
- Click on the “Download” button.
- Wait for the installation file to download to your PC.
Step 2: Install MSI Afterburner
Once the download is complete, locate the file (usually in your “Downloads” folder) and follow these steps:
- Double-click the installer file.
- Accept the terms and conditions.
- Choose a destination folder for the installation (default is fine).
- Click “Install” and wait for the process to finish.
After installation, MSI Afterburner will automatically launch. If it doesn’t, you can start it from your Start Menu.
Step 3: Understanding the MSI Afterburner Interface
Before jumping into overclocking, it’s essential to understand the MSI Afterburner interface. The software features sliders that allow you to control your GPU’s core clock, memory clock, and fan speed.
- Core Clock: Adjusts the GPU processing speed.
- Memory Clock: Controls the speed at which data is sent to the graphics card.
- Fan Speed: Manually control the fan speed for better cooling.
MSI Afterburner also displays critical data, such as GPU temperature and usage, so you can monitor performance while adjusting settings.
Step 4: Overclocking Your Graphics Card
Now comes the exciting part: overclocking your GPU. Follow these steps to safely boost your graphics card’s performance:
- Increase the Core Clock: Start by increasing the core clock by small increments (10-20 MHz). Click “Apply” after each adjustment.
- Adjust the Memory Clock: Similar to the core clock, increase the memory clock by 50-100 MHz at a time.
- Test Stability: Use a GPU stress-testing tool, like FurMark, to ensure the overclock is stable. If your PC crashes or you notice graphical artifacts, lower the clock speeds.
Note: Overclocking can increase the temperature of your GPU, so keep an eye on the temperature gauge and adjust fan speeds as necessary.
Step 5: Fine-Tuning and Testing
After initial overclocking, fine-tune your settings to find the optimal balance between performance and stability. Run some resource-intensive games or benchmarks to check if your system is stable under load.
- Fan Speed Control: Set an automatic fan curve for optimal cooling.
- Power Limit: Increase the power limit slightly to provide more headroom for overclocking.
Once you’re satisfied with your settings, save them as a profile within MSI Afterburner for easy access in the future.
Step 6: Save and Monitor
Saving your overclocking profile allows you to load it quickly when needed. Additionally, MSI Afterburner offers real-time monitoring tools that show GPU usage, temperature, and fan speeds on an on-screen display while gaming.
- Save Your Settings: Click on the save icon to store your overclock settings.
- Monitor Performance: Use the monitoring panel to track the performance of your GPU during gaming sessions.
Boost Your Gaming Performance with MSI Afterburner
By following this guide, you’ve learned how to install MSI Afterburner on your PC and safely overclock your graphics card. With the right balance of adjustments, you can achieve noticeable performance improvements, making your gaming experience smoother and more enjoyable.


