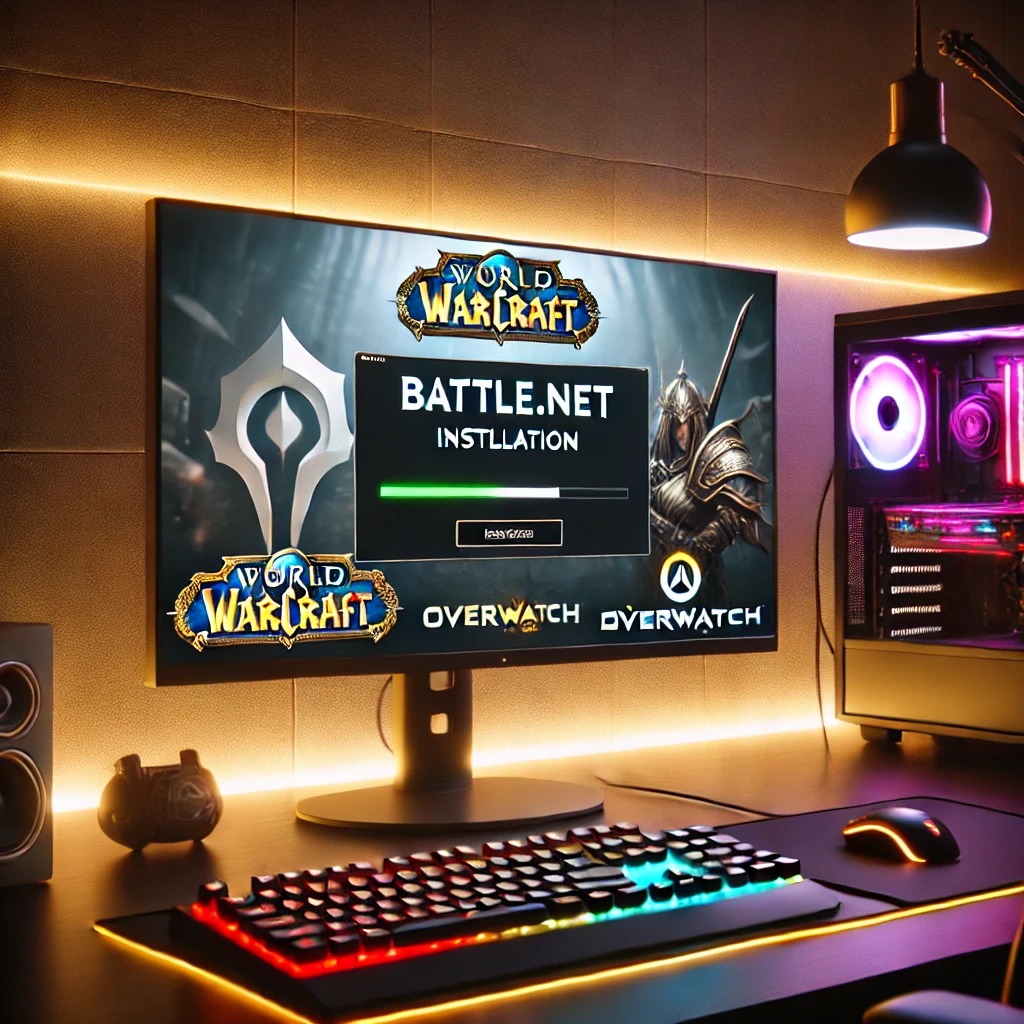
How to Install Battle.net for PC Gaming: A Comprehensive Guide

Get started with Battle.net by learning how to install, configure, and optimize Blizzard’s gaming platform on your PC. This guide covers everything from setup to accessing popular titles like World of Warcraft and Overwatch.
How to Install Battle.net for PC Gaming: A Comprehensive Guide
Battle.net is Blizzard Entertainment’s official gaming platform, hosting some of the most popular titles like World of Warcraft, Overwatch, and Diablo. Whether you’re reinstalling it or setting it up for the first time, this guide will take you through every step of the process. With this easy-to-follow guide, you’ll be up and running in no time.
Step 1: Downloading the Battle.net Installer
To get started, you first need to download the Battle.net desktop app.
1. Go to the Official Website: Open your browser and visit the Battle.net website at https://us.shop.battle.net/en-us.
2. Click “Download for Windows”: This will start the download of the installer, typically named Battle.net-Setup.exe.
3. Save the Installer: Once the download completes, find it in your Downloads folder.
Step 2: Installing the Battle.net App
Now that the installer is downloaded, it’s time to proceed with the installation process which is pretty straight forward.
1. Open the Installer: Double-click the Battle.net-Setup.exe file to begin.
2. Follow the Prompts: The installation wizard will guide you through the process. Select your preferred installation directory, or stick with the default.
3. Complete Installation: Once installed, the app will launch automatically.
Step 3: Creating or Logging into Your Blizzard Account
Now that you have installed the Battle.net App, you’ll need to log in to your Blizzard account.
1. Log In or Sign Up: If you don’t have an account yet, click Create a Free Account and fill in the necessary details.
2. Verify Your Email: Blizzard will send a verification link to your email. Follow the link to activate your account.
Step 4: Configuring Battle.net for Optimal Performance
After logging in, take a moment to configure some settings for a smoother gaming experience.
1. Enable Automatic Updates: Under Settings > Game Install/Update, check the box that says Apply latest updates automatically.
2. Choose Install Location: You can change the location where games are installed to avoid filling up your primary drive.
3. In-Game Settings: Enable In-game Overlay for quick access to the friends list while playing.
Step 5: Browsing and Installing Games
At this point ,Battle.net is ready, you can start downloading games.
1. Browse the Game Library: Go to the Shop tab to explore Blizzard’s games.
2. Install a Game: Once you select a game, click Install to download and install it.
3. Play: Once the installation is complete, click Play to launch the game.
Ultimately, with Battle.net now installed and properly configured on your PC, you’re ready to dive into Blizzard’s diverse game offerings. From optimizing the settings to ensuring your games are always up to date, you’ve set yourself up for a seamless gaming experience.
Be sure to explore the platform regularly for updates and new releases to stay on top of the latest games and features.
Recommended Articles If You Are Interested In installing Other Games
https://machinepwr.com/how-to-install-and-set-up-steam-for-pc-gaming-a-step-by-step-guide/
https://machinepwr.com/installing-epic-games-launcher-a-complete-tutorial-for-pc-gamers/


