How to Build a PC from Scratch: A Beginner’s Guide

Why Build a PC from Scratch?
Building your own PC is a great way to take full control over your computing experience. Whether you need a machine for gaming, productivity, content creation, or simply want to learn more about how computers work, building a PC allows you to customize each part to suit your specific needs. Plus, assembling your own computer can often be more cost-effective than buying pre-built systems, especially if you know exactly what parts to select.
Building a PC from scratch might seem intimidating, but with a little patience and some guidance, it’s a straightforward process. This guide will walk you through the entire journey, from selecting the right components to assembling your machine and installing the necessary software. If you’ve never built a PC before, this article will explain the process in clear, beginner-friendly steps.
Understanding the Key Components
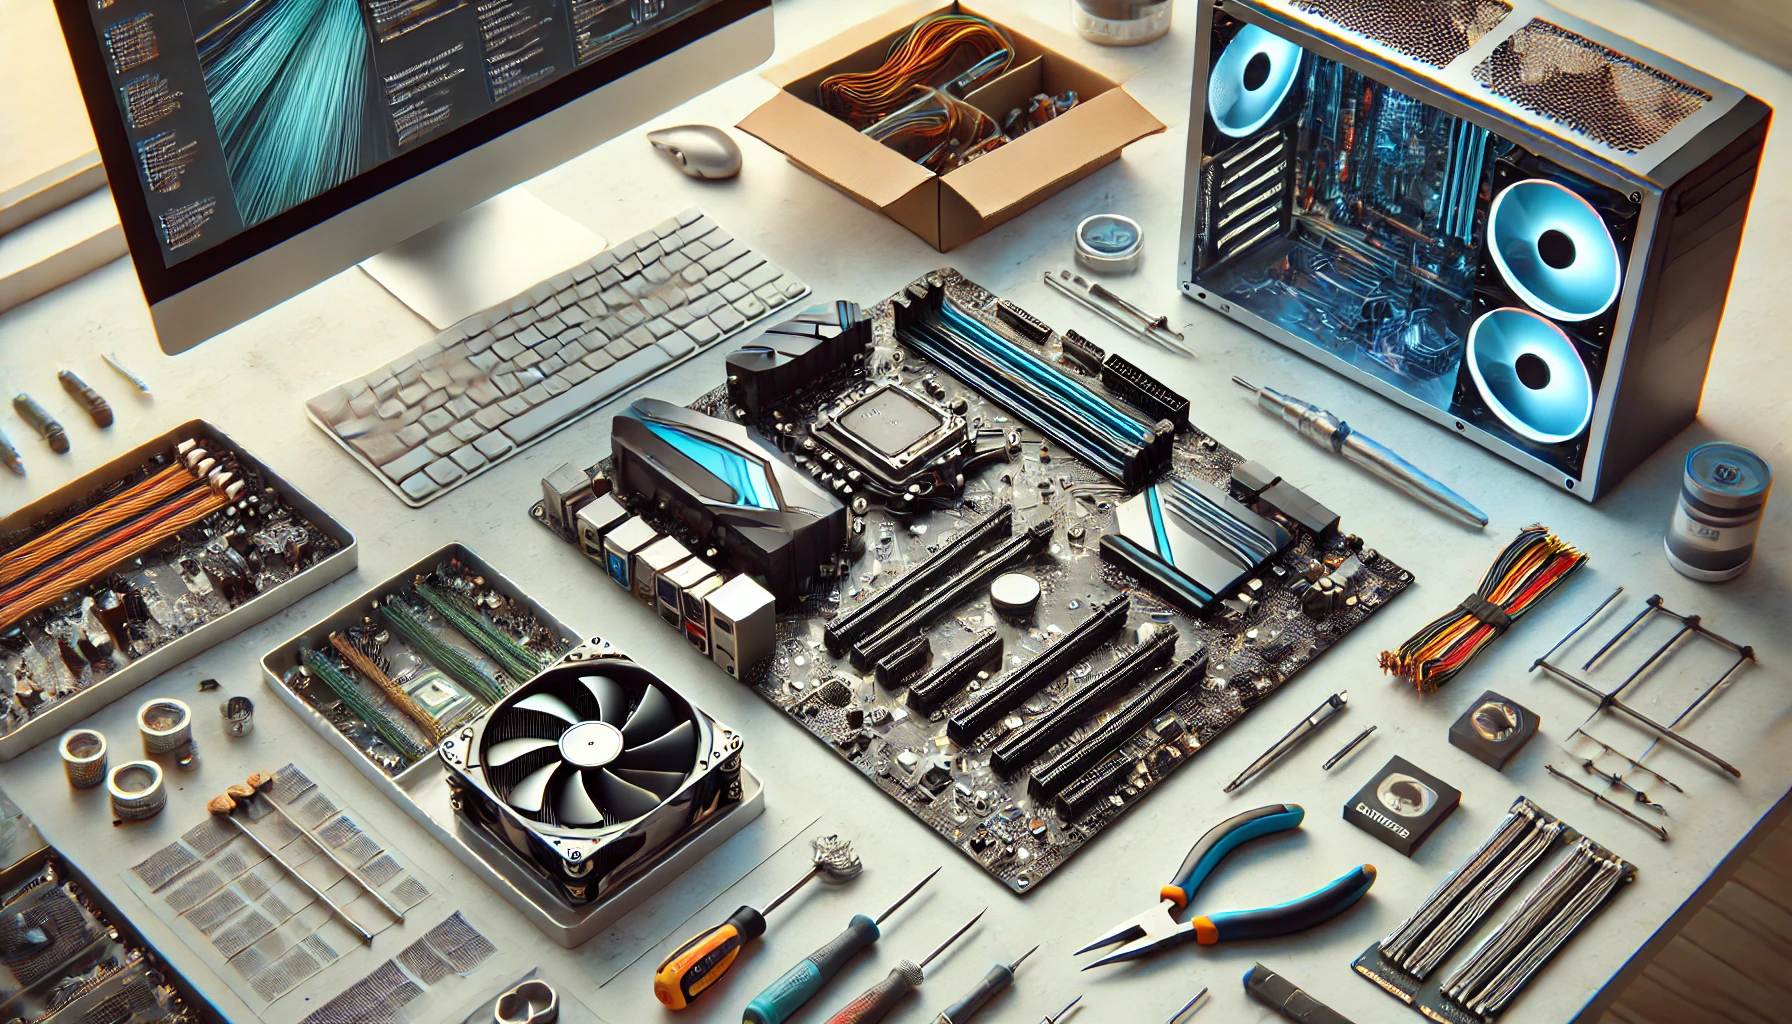
Before diving into the assembly process, it’s essential to know what each component of the PC does. Understanding the role of each part will help you make informed decisions about what to buy and why.
1. Central Processing Unit (CPU)
The CPU, also known as the processor, is the heart of the computer. It handles all the instructions that come from programs and the operating system. When you choose a CPU, you’ll need to consider factors like core count (how many separate tasks it can handle), clock speed (how fast it can perform those tasks), and thermal performance. Popular choices in 2024 are AMD’s Ryzen and Intel’s Core series. For general users, an AMD Ryzen 5 or Intel i5 should suffice, but for gaming or high-performance tasks like video editing, you might want to go for a Ryzen 7 or an Intel i7 or i9 processor.
2. Motherboard
The motherboard acts as the main circuit board connecting all the parts of the PC. It dictates what components are compatible with each other. There are many factors to consider when selecting a motherboard, such as the CPU socket (it must match your chosen CPU), the form factor (ATX, micro-ATX, or mini-ITX), and the expansion options (like PCIe slots for graphics cards and additional storage). Additionally, make sure the motherboard has enough RAM slots and features like Wi-Fi or Bluetooth if you need them.
3. Graphics Processing Unit (GPU)
The GPU, or graphics card, is responsible for rendering images, videos, and animations. If you’re building a gaming PC, video editing workstation, or something that demands high-quality visuals, a dedicated GPU is crucial. NVIDIA’s RTX series and AMD’s Radeon series are some of the most powerful options in the market in 2024. If you’re only doing basic tasks like web browsing and word processing, you might not need a dedicated GPU, as most modern CPUs come with integrated graphics.
4. Random Access Memory (RAM)
RAM is your computer’s short-term memory, storing data that’s actively in use by the processor. More RAM allows for more programs to run simultaneously without slowing down the system. For general tasks, 8GB of RAM is sufficient, but for gaming, video editing, or other resource-heavy tasks, 16GB or even 32GB may be necessary. The speed of the RAM also matters, and it should be compatible with your motherboard and CPU.
5. Storage (SSD/HDD)
Storage is where your data is kept. The most common types of storage devices are Hard Disk Drives (HDDs) and Solid-State Drives (SSDs). SSDs are faster and more reliable than HDDs, making them ideal for boot drives and installing applications. You’ll likely want a 500GB or 1TB SSD for your operating system and essential programs. However, if you need additional storage for games, movies, or large files, you can add an HDD, which offers larger capacities at a lower cost per GB.
6. Power Supply Unit (PSU)
The PSU supplies power to the entire system, converting electricity from the wall into usable power for your components. It’s crucial to get a PSU with enough wattage to support all your parts. There are online calculators that can estimate your system’s power needs based on your components, and it’s a good idea to add a bit of headroom to ensure stability and allow for future upgrades.
7. Cooling System
Proper cooling is essential to keep your PC running at optimal temperatures. CPUs and GPUs generate a lot of heat, especially during intensive tasks like gaming or rendering. Air cooling systems, including fans, are usually sufficient for most users, but if you’re building a high-performance system, you might consider liquid cooling. An efficient cooling system will extend the lifespan of your components and keep them performing at their best.
8. PC Case
The case houses all the components and ensures they are properly secured and protected. It also plays a critical role in airflow and cooling. When choosing a case, ensure it’s large enough to fit your motherboard, GPU, and cooling solutions. Cases come in different sizes—mid-tower and full-tower are the most common—and also offer various features like cable management and airflow optimization.
9. Operating System (OS)
The OS is the software that allows you to interact with the hardware. Windows 11 is the most popular operating system for general use, gaming, and productivity. However, Linux is also a great option for developers, while macOS is only available on Apple hardware. Make sure the OS is compatible with your hardware.
Choosing the Right Components
Once you know what each component does, the next step is choosing the right parts for your specific needs. This depends largely on your budget and what you plan to use the computer for. For instance:
- For gaming: A high-performance CPU, at least 16GB of RAM, a dedicated GPU like the NVIDIA RTX 3060 or AMD RX 6700 XT, and an SSD for faster load times.
- For video editing or content creation: A powerful CPU like the Intel Core i9 or AMD Ryzen 9, 32GB of RAM, a high-end GPU, and a fast SSD paired with a large HDD for storage.
- For general use: An Intel i5 or AMD Ryzen 5, 8GB of RAM, an SSD for fast boot and load times, and integrated graphics.
It’s also important to ensure that the components you select are compatible with each other. Check things like CPU socket compatibility with the motherboard, RAM clearance with the CPU cooler, and PSU wattage requirements.
Assembling Your PC
Now that you’ve selected your components, it’s time to assemble your machine. Here’s a step-by-step guide to building your PC:
1. Prepare Your Workspace
Choose a clean, static-free surface to work on. You can use an anti-static wrist strap to prevent damaging sensitive components with static electricity.
2. Install the CPU
Open the CPU socket on your motherboard and carefully place the CPU in the socket. Make sure it aligns correctly with the socket markings. Once in place, gently close the latch to secure it.
3. Install the RAM
Locate the RAM slots on your motherboard. Open the clips on each slot, align the notches on the RAM sticks with the notches in the slots, and press down firmly until the RAM clicks into place.
4. Install the Motherboard into the Case
Position the motherboard inside the case and align it with the mounting holes. Secure it with screws. Ensure that the I/O shield on the back of the motherboard aligns with the case.
5. Install the Power Supply
Place the PSU in its designated spot inside the case (usually at the bottom). Secure it with screws, then route the cables carefully.
6. Install the Storage Devices
Mount your SSD and/or HDD in the storage bays of the case. Use screws or tool-free mounting mechanisms to secure them in place. Connect the data cables (SATA) to the drives.
7. Install the GPU
Slot the GPU into the PCIe x16 slot on the motherboard. Secure it with screws to prevent it from moving. Make sure it’s properly seated.
8. Connect All Cables
Now, connect all necessary power cables from the PSU to the motherboard, GPU, and storage devices. Make sure to connect the 24-pin and 8-pin power cables for the motherboard and CPU, as well as the PCIe power cables for the GPU.
9. Install Cooling System
Install your CPU cooler (air or liquid) according to the manufacturer’s instructions. If you’re using an air cooler, make sure it’s properly aligned and mounted. For liquid cooling, follow the instructions for mounting the radiator and pump.
10. Check Everything
Before you close up the case, double-check all your connections and ensure that everything is securely attached.
Installing Software
After assembling your PC, it’s time to install the operating system and drivers:
1. Install the Operating System
Insert a USB drive with the Windows 11 installation files and boot the system from it. Follow the on-screen instructions to install Windows.
2. Install Drivers
Once the OS is installed, it’s time to install the drivers for your motherboard, GPU, and other components. You can download these from the manufacturers’ websites.
3. Run Updates
Ensure that all Windows updates are installed for optimal performance and security.
Final Thoughts
Building a PC from scratch is a highly rewarding process that can save you money and give you a machine tailored to your needs. By following this guide, you’ll be able to assemble a powerful system that can handle gaming, productivity, content creation, and more. Whether you’re a first-time builder or a seasoned pro, each step in the process is an opportunity to learn more about how computers work. Happy building!
FAQ:
-
What tools do I need to build a PC? You’ll need a screwdriver, anti-static wristband, and maybe a thermal paste applicator for installing your cooler.
-
Is it cheaper to build a PC than buy one? In many cases, building a PC can save you money, especially if you already have parts like a monitor or keyboard.
-
Can I reuse old parts when building a new PC? Yes, many components like the case, storage, and PSU can be reused if they are compatible with your new setup.
-
How long does it take to build a PC? For beginners, it may take 4-6 hours, but with experience, you can assemble a PC in under 2 hours.
Visit our other website: https://synergypublish.com


