Comprehensive Guide to Building a Custom Gaming PC: From Planning to Optimization
This detailed guide walks readers through the complete process of building a custom gaming PC. Covering everything from selecting the right components and assembly to optimization and maintenance, this article ensures that both beginners and seasoned builders can create and maintain a high-performance gaming rig tailored to their needs.
Building a Custom Gaming PC
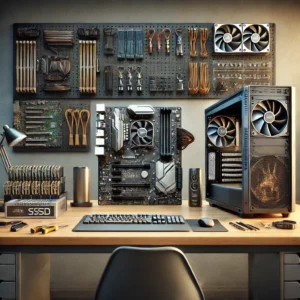
Building a custom gaming PC is a fulfilling endeavor that allows gamers to tailor their setup for maximum performance, aesthetic appeal, and future upgradability. Unlike pre-built PCs, a custom-built PC provides the flexibility to choose components that align with specific gaming needs, whether for competitive e-sports, immersive RPGs, or high-resolution simulations. This comprehensive guide covers the entire process of building a gaming PC, from selecting components to post-build optimization and maintenance.
Planning Your Custom Gaming PC Build
Before purchasing components, careful planning is essential to create a build that fits your budget and performance goals.
1. Setting a Budget
- Define Your Budget: Decide how much you’re willing to spend. A budget range helps prioritize which components to invest more in, such as the GPU or CPU.
- Budget Allocation: Allocate approximately 40–50% of your budget to the GPU if gaming performance is your main goal. The CPU and other critical components can take up the next significant share.
2. Choosing Your Gaming Goals
- Resolution and Refresh Rate: Determine if your gaming setup will focus on 1080p, 1440p, or 4K resolution, as well as the desired refresh rate (e.g., 60Hz, 144Hz).
- Game Type and Performance: Consider whether you play AAA titles that are graphically demanding or fast-paced games that benefit from higher frame rates.
3. Researching Compatibility
- Motherboard and CPU: Ensure the CPU socket type matches the motherboard’s compatibility. Popular choices include Intel’s LGA1200 or LGA1700 and AMD’s AM4 or AM5 sockets.
- Case Size: Confirm that your chosen case can accommodate the motherboard form factor (e.g., ATX, Micro-ATX) and has space for the GPU length and cooling solutions.
- Power Supply: Calculate the required wattage using an online PSU calculator and select a power supply with an 80 Plus rating for efficiency.
Selecting Components for Your Gaming PC
Choosing the right components is crucial for performance, reliability, and future upgrades.
1. Central Processing Unit (CPU)
- Intel vs. AMD: Intel’s Core i5, i7, and i9 offer strong single-threaded performance, ideal for gaming. AMD’s Ryzen 5, 7, and 9 series provide excellent multi-threading for both gaming and productivity.
- Recommended CPUs for Gaming: Intel Core i5-13600K, AMD Ryzen 7 5800X3D, or Ryzen 5 7600X are popular for mid- to high-end builds.
2. Graphics Processing Unit (GPU)
- NVIDIA vs. AMD: NVIDIA’s GeForce RTX 30 and 40 series excel in ray tracing and DLSS, while AMD’s Radeon RX 6000 and 7000 series offer competitive pricing and performance.
- Top GPU Picks: NVIDIA RTX 3060, RTX 4070 Ti, AMD RX 6700 XT, and RX 7900 XTX are suitable options depending on your budget and gaming goals.
3. Memory (RAM)
- Capacity and Speed: For gaming, 16GB of RAM (DDR4 or DDR5) at speeds of at least 3200MHz is a good starting point. For future-proofing or multitasking, consider 32GB.
- Dual-Channel Configuration: Ensure RAM is installed in a dual-channel configuration for better performance.
4. Storage Solutions
- SSD vs. HDD: A solid-state drive (SSD) is essential for fast boot times and game loading speeds. NVMe M.2 SSDs offer superior performance over SATA SSDs.
- Recommended Storage Setup: Use a 500GB to 1TB NVMe SSD for the OS and frequently played games, supplemented by a 2TB HDD for additional storage.
5. Motherboard
- Features to Consider: Ensure the motherboard supports PCIe 4.0 or 5.0 for faster GPUs and storage, has adequate USB ports, and includes Wi-Fi/Bluetooth if needed.
- Popular Motherboard Models: ASUS ROG Strix, MSI MPG, and Gigabyte Aorus series are reliable options.
6. Power Supply Unit (PSU)
- Wattage and Certification: Choose a PSU that meets your wattage needs (typically 650W to 850W for most builds) and has an 80 Plus Gold certification or higher.
- Modular vs. Non-Modular: Modular PSUs simplify cable management by allowing users to attach only the necessary cables.
7. Cooling Solutions
- Air vs. Liquid Cooling: Air cooling is more budget-friendly and simpler to install, while liquid cooling offers better aesthetics and performance for overclocking.
- Recommended Models: Noctua NH-U12A for air cooling and Corsair iCUE H100i Elite Capellix for liquid cooling.
8. PC Case
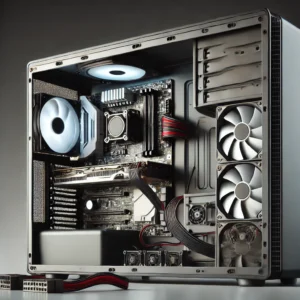
- Size and Airflow: Ensure the case has adequate space for your components and supports efficient airflow. Look for cases with mesh panels or pre-installed fans.
- Aesthetic Features: RGB lighting and tempered glass side panels are popular for visually appealing builds.
Assembling Your Custom Gaming PC
Building a PC requires careful handling and organization. Follow these steps to ensure a smooth assembly process.
1. Preparing Your Workspace
- Clean and Spacious Area: Work on a large, static-free surface with all tools and components organized.
- Tools Needed: Phillips head screwdriver, cable ties, and thermal paste if not pre-applied.
2. Installing the CPU
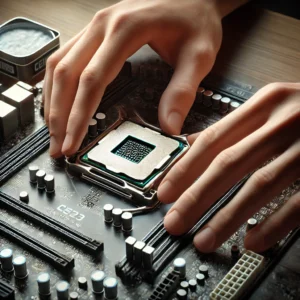
- Place the CPU Carefully: Open the motherboard socket lever, align the CPU according to the notches, and lower the lever to secure it.
- Apply Thermal Paste: If the cooler doesn’t have pre-applied thermal paste, apply a small, pea-sized dot in the center of the CPU.
3. Installing RAM and Storage
- Insert RAM Modules: Push the RAM sticks into the motherboard slots until they click into place. Ensure they are in the correct slots for dual-channel operation.
- Install NVMe SSD: Insert the SSD at a 30-degree angle and secure it with a screw.
4. Mounting the Motherboard
- Secure the Standoffs: Ensure that standoffs are placed in the case to prevent the motherboard from touching the metal surface.
- Screw the Motherboard In: Align the motherboard with the standoffs and secure it with screws.
5. Installing the Power Supply
- Mount the PSU: Place the PSU in its designated compartment (usually at the bottom or rear of the case) and secure it with screws.
- Connect Cables: Attach the necessary power cables to the motherboard, GPU, and storage drives.
6. Installing the GPU
- Place the GPU in the PCIe Slot: Unlock the PCIe latch and carefully insert the GPU until it clicks into place.
- Secure the GPU: Use screws to fasten the GPU to the case and connect the PCIe power cables.
7. Cable Management
- Organize and Tie Cables: Use cable ties to bundle and route cables through the case’s management channels to maintain a clean build.
- Connect Front Panel Headers: Attach front panel connectors like the power button, USB ports, and audio jacks to the appropriate motherboard pins.
First Boot and BIOS Configuration
Once the build is assembled, it’s time to power it on and configure the BIOS.
1. Performing the First Boot
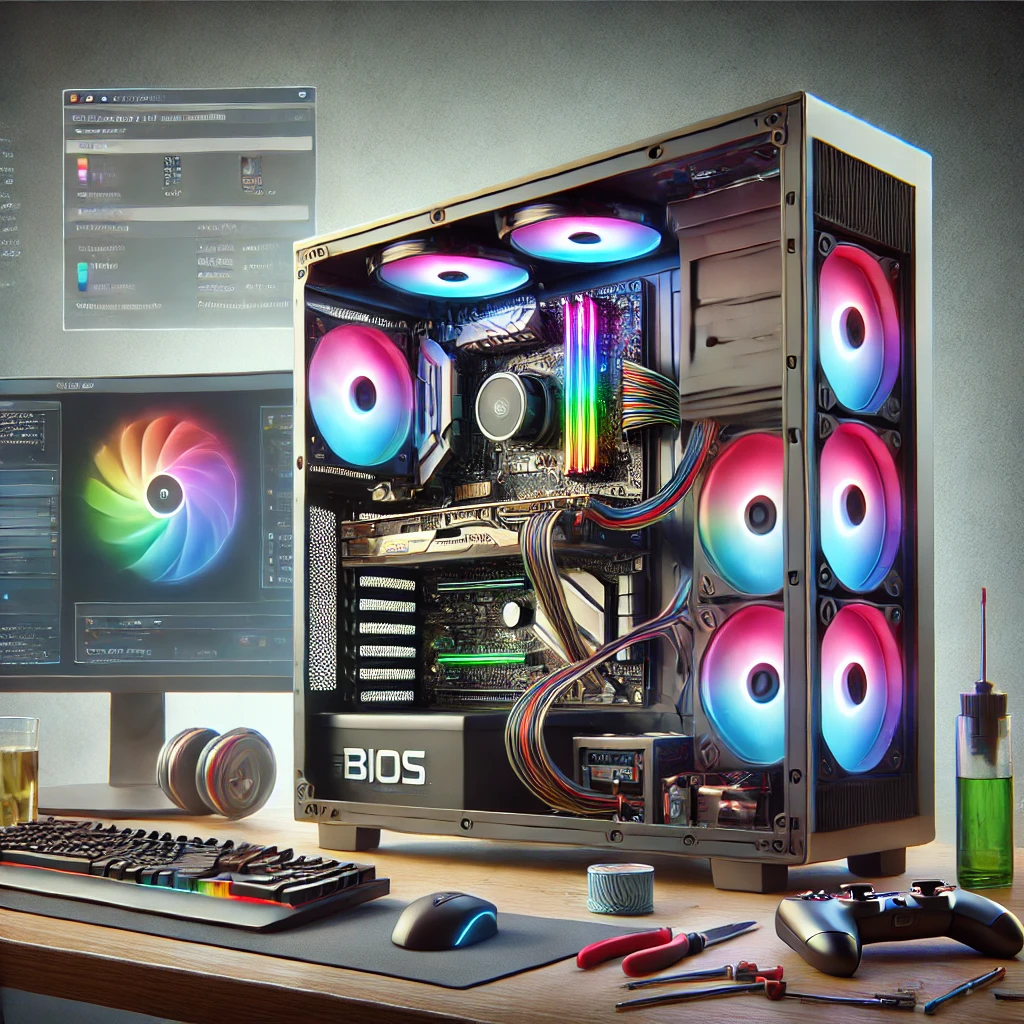
- Power On the System: Turn on the PSU and press the power button. If the system powers on, check that all fans and RGB lights are functioning.
- Troubleshooting: If the system doesn’t boot, check the power connections, RAM seating, and ensure the CPU is correctly installed.
2. Entering the BIOS
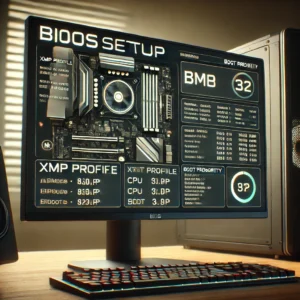
- Access BIOS: Press the designated key (e.g., Delete, F2) during startup to enter the BIOS interface.
- Check System Info: Verify that the CPU, RAM, and storage are recognized.
- Enable XMP Profile: Activate the XMP profile for the RAM to run at its rated speed.
- Set Boot Priority: Ensure that the boot drive is set as the primary device.
Installing the Operating System and Drivers
The next step is to install the operating system and necessary drivers.
1. Installing the OS
- Create a Bootable USB: Use a tool like Rufus to create a bootable USB drive with your preferred OS (e.g., Windows 10/11, Linux).
- Boot from USB: Insert the USB drive, restart the PC, and boot from the USB to start the OS installation process.
2. Installing Drivers
- Motherboard Drivers: Download the latest drivers from the manufacturer’s website and install them for optimal performance.
- GPU Drivers: Visit NVIDIA’s or AMD’s website to download the most recent graphics drivers.
- Peripheral Drivers: Install drivers for any peripherals (e.g., gaming keyboards, headsets) to unlock additional features.
3. Update the System
- Run system updates: Ensure the OS is updated to the latest version to receive performance and security enhancements.
- Install Essential Software: Download monitoring tools like MSI Afterburner to track system performance and temperatures.
Optimizing and Maintaining Your Gaming PC
After setup, optimizing the system and maintaining it regularly is essential for long-term performance.
1. Performance Tweaks
- Overclocking: Use BIOS or software tools to safely overclock the CPU and GPU for increased performance.
- Adjust Fan Curves: Configure fan speeds to balance cooling and noise levels.
- Optimize Game Settings: Adjust in-game settings based on the hardware capabilities to achieve the best visual quality and frame rate.
2. System Maintenance
- Clean Dust Regularly: Use compressed air to clean dust from fans and components every few months.
- Check Thermal Paste: Reapply thermal paste every 1-2 years to maintain optimal CPU temperatures.
- Monitor Temperatures: Use software like HWMonitor or SpeedFan to keep an eye on system temperatures during gaming sessions.
3. Software Maintenance
- Update Drivers: Periodically update drivers for the GPU and other components to maintain compatibility with new games and software.
- Run Disk Cleanup: Use built-in tools or third-party software to clear unnecessary files and optimize storage.
Building a custom gaming PC is a rewarding process that offers superior customization, performance, and upgradability compared to pre-built systems. By following this comprehensive guide, readers can confidently plan, build, and maintain their gaming PC for years of optimal performance. Whether aiming for 1080p high-frame-rate gaming or 4K ultra settings, building your PC allows for complete control over the components and aesthetic appeal.
Start your journey today and enjoy the satisfaction of gaming on a custom-built powerhouse tailored to your exact needs and preferences.
Frequently Asked Questions (FAQ)
- What are the minimum system requirements for building a gaming PC?
The minimum components include a CPU, GPU, RAM (at least 8GB, though 16GB is recommended), a power supply, storage (SSD recommended), and a compatible motherboard. For gaming at 1080p, a mid-tier GPU like the NVIDIA GTX 1660 or AMD RX 580 can handle most games, though higher resolutions or frame rates may require a more powerful setup. - How much should I budget for a custom gaming PC?
Budget allocations can vary widely depending on your goals. Entry-level builds for 1080p gaming start around $700-$1000, while high-performance builds for 1440p or 4K gaming range from $1500-$3000. Be sure to allocate about 40-50% of your budget to the GPU, as it greatly impacts gaming performance. - Is it difficult to build a gaming PC as a beginner?
Building a gaming PC can seem daunting at first, but with careful preparation, organization, and online tutorials, it’s achievable even for beginners. Take your time, follow the assembly steps carefully, and consult reliable guides or videos for specific questions. - Should I prioritize the CPU or GPU for gaming performance?
The GPU typically has the most direct impact on gaming performance, especially for graphics-intensive games. However, the CPU is essential for overall system responsiveness and is particularly important for CPU-bound tasks like physics simulations and open-world games. - How do I choose the right power supply for my build?
Use an online PSU calculator to estimate the wattage required for your build. A reliable, 80 Plus Gold-certified power supply in the 650W to 850W range is suitable for most gaming PCs, providing both stability and energy efficiency. - What’s the difference between air and liquid cooling?
Air cooling is cost-effective and easier to install, with fewer maintenance needs. Liquid cooling, whether through all-in-one (AIO) coolers or custom loops, offers superior heat dissipation and often quieter operation but is typically more expensive and requires careful handling. - Can I upgrade individual components in my gaming PC later?
Yes, one of the main advantages of a custom-built PC is upgradability. You can replace or add components like the GPU, RAM, storage, and even the CPU or motherboard, provided they are compatible with your other components. - How often should I clean or maintain my gaming PC?
It’s advisable to clean the PC every 3-6 months, depending on your environment, to prevent dust buildup. Check and replace thermal paste every 1-2 years for optimal cooling performance. Regularly update drivers and check temperatures using monitoring software to ensure everything runs smoothly. - Is overclocking safe, and does it improve gaming performance?
Overclocking can boost CPU and GPU performance but generates more heat. When done carefully and with proper cooling, it can improve gaming performance, especially in CPU-intensive tasks. However, it may void warranties and requires monitoring to avoid instability or damage. - How do I troubleshoot if my PC won’t boot after assembly?
First, check all connections, including power cables to the CPU, GPU, and motherboard. Ensure RAM and GPU are securely seated. Clear the CMOS if you suspect a BIOS issue, and consult your motherboard’s manual for diagnostic codes or error lights. - Do I need additional cooling fans beyond what comes with the case?
Many cases include at least one or two fans, but adding more fans improves airflow, especially in powerful gaming builds. A balanced setup with intake and exhaust fans helps maintain optimal temperatures, and many cases support multiple fan placements for customizable cooling. - Can I use an HDD instead of an SSD for storage?
While an HDD offers more storage at a lower price, an SSD drastically improves loading times, boot speed, and responsiveness. It’s recommended to use an SSD for the operating system and frequently-played games, with an HDD for additional storage.

