A Step-by-Step Guide to Setting Up a DIY Water Cooling System for High-Performance PCs
This guide provides a comprehensive step-by-step approach to setting up a DIY water cooling system for high-performance PCs. Covering the basics of water cooling components, installation, and maintenance, this tutorial is ideal for gamers, content creators, and anyone pushing their PC hardware to its limits.
Setting Up a DIY Water Cooling System
High-performance PCs generate significant heat, particularly during intensive tasks such as gaming, video rendering, and AI processing. Traditional air cooling may suffice for standard setups, but water cooling offers superior cooling efficiency, reduced noise levels, and enhanced aesthetic appeal. This guide provides a thorough, step-by-step approach to installing a DIY water cooling system, from selecting components to ongoing maintenance.
By the end of this tutorial, readers will understand the essential components of a water cooling setup, how to install each component safely, and how to maintain the system for optimal performance. This guide is designed for PC enthusiasts eager to maximize cooling and achieve stable performance under heavy loads.
Understanding the Basics of Water Cooling
Before diving into the setup process, it is essential to understand the fundamentals of water cooling. Unlike air cooling, which relies on fans and heatsinks, water cooling uses liquid to dissipate heat from PC components. This section covers the core components and advantages of water cooling.
1. How Water Cooling Works
Water cooling involves circulating liquid through tubes connected to a pump and radiator. The liquid absorbs heat from components, transferring it to the radiator, where fans dissipate it. This process is more efficient than air cooling as water has a higher thermal conductivity.
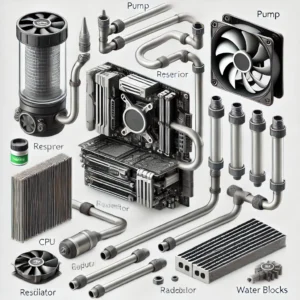
2. Key Components of a Water Cooling System
- Pump: The pump circulates liquid through the system, ensuring consistent heat transfer. Pumps with higher flow rates offer better cooling but may produce more noise.
- Reservoir: The reservoir stores extra liquid, making it easier to fill and maintain the system. It also provides a buffer, reducing the risk of air bubbles.
- Radiator: The radiator cools the heated liquid, using fans to dissipate heat. Radiators come in various sizes (120mm, 240mm, 360mm), with larger radiators providing better cooling.
- Water Block: The water block is attached to components like the CPU and GPU. It transfers heat from these components to the liquid.
- Tubing: Tubes carry liquid throughout the system. Options include soft and hard tubing, with hard tubing providing a cleaner look but requiring more skill to install.
- Coolant: Specialized coolant is used to prevent corrosion and improve thermal performance. Coolants are available in various colors for aesthetic customization.
3. Advantages of Water Cooling
- Improved Cooling Efficiency: Water cooling can lower temperatures significantly, reducing the risk of overheating during high-performance tasks.
- Noise Reduction: Water cooling systems produce less noise than air cooling, as fewer fans are needed.
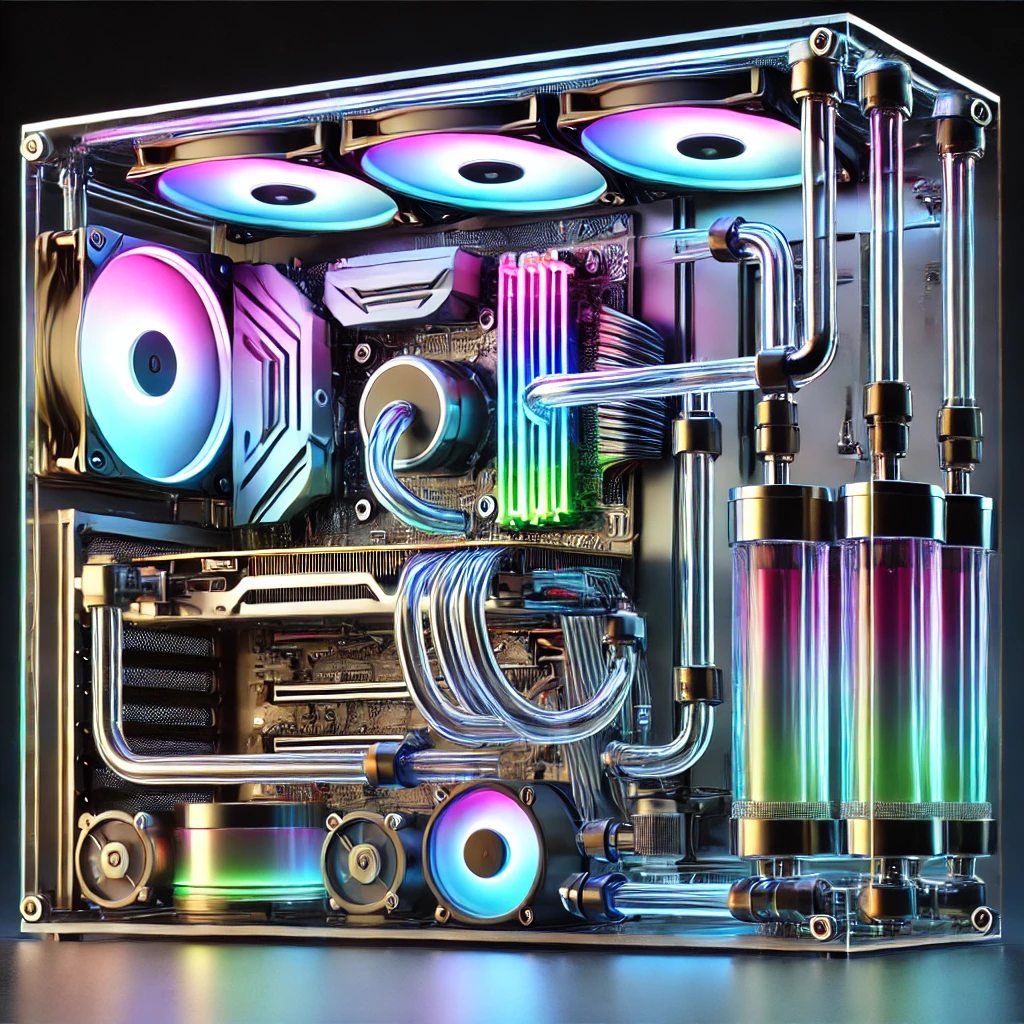
- Aesthetic Appeal: Water cooling allows for customization with colored tubing, RGB lighting, and clean cable management, enhancing the visual appeal of a PC.
Selecting Water Cooling Components
Choosing the right components is essential for a successful water cooling setup. This section provides guidance on selecting each part based on budget, performance needs, and personal preferences.
1. Choosing the Pump and Reservoir
- Pump Options: Consider pumps with a flow rate suitable for the loop size. Popular options include D5 and DDC pumps. D5 pumps are quieter and ideal for larger systems, while DDC pumps offer a more compact design.
- Reservoir Types: Integrated pump-reservoir combos simplify the setup, while separate reservoirs offer flexibility. Choose a reservoir that fits within the PC case.
2. Selecting the Radiator
- Radiator Size: The size of the radiator affects cooling performance. A 240mm radiator is generally sufficient for CPU cooling, while a 360mm or larger radiator is ideal for systems with both CPU and GPU cooling.
- Radiator Thickness: Thicker radiators offer better cooling but may not fit in all cases. Check compatibility with the PC case before purchasing.
3. Picking the Water Blocks
- CPU Water Block: CPU water blocks come in various designs, including those with microfin channels to improve heat transfer. Choose a water block compatible with the CPU socket.
- GPU Water Block: GPU water blocks are more complex, as they are specific to each graphics card model. Ensure compatibility by checking the manufacturer’s specifications.
4. Choosing Tubing and Fittings
- Tubing Material: Soft tubing is easier to install, while hard tubing provides a sleek appearance. Choose tubing with an inner diameter that matches the fittings.
- Fittings: Fittings connect tubes to components, ensuring a secure, leak-free connection. Compression fittings are recommended for beginners, as they are easy to install.
5. Selecting Coolant
- Coolant Types: Premixed coolants are convenient and provide corrosion protection, while DIY coolants require careful mixing. Colored and UV-reactive coolants allow for aesthetic customization.
- Anti-Corrosion Properties: Choose a coolant specifically designed for PC water cooling to prevent corrosion and algae buildup.
Setting Up the Water Cooling Loop
Setting up the loop requires careful planning and attention to detail. This section covers the step-by-step process, ensuring a safe and efficient installation.
1. Planning the Loop Layout
- Order of Components: The loop order typically follows this path: reservoir → pump → radiator → CPU/GPU water block → back to the reservoir. This layout minimizes tubing and ensures optimal cooling.
- Testing Fitment: Before installation, arrange components within the case to ensure proper fitment. Consider the location of the radiator, pump, and reservoir for the best airflow and accessibility.
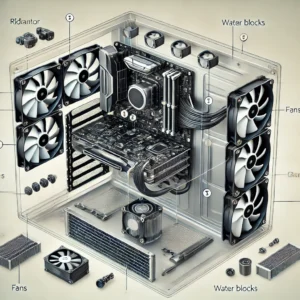
2. Installing the Radiator and Fans
- Mounting the Radiator: Attach the radiator to a designated location in the case, such as the front, top, or bottom. Ensure airflow through the radiator with intake or exhaust fans.
- Attaching Fans to Radiator: Screw fans onto the radiator, ensuring that they align with the desired airflow direction (intake or exhaust).
3. Installing the Water Blocks
- CPU Water Block: Attach the CPU water block to the CPU using the included mounting hardware. Apply a thin layer of thermal paste before mounting to improve heat transfer.
- GPU Water Block: If using a GPU water block, remove the GPU’s heatsink carefully, apply thermal paste, and secure the water block.
4. Connecting the Tubing and Fittings
- Cutting and Installing Tubing: Measure and cut tubes to the required lengths. Connect each tube to the corresponding fitting on the pump, radiator, and water blocks.
- Securing Fittings: Tighten each fitting to ensure a secure connection. Compression fittings should be hand-tightened, while barb fittings may require additional clamps.
5. Filling and Leak Testing the System
- Filling the Reservoir: Slowly fill the reservoir with coolant, allowing the pump to circulate the liquid through the loop.
- Leak Testing: Run the pump (with the PC off) for 24 hours to check for leaks. Use paper towels around fittings to detect any leaks early.
Maintaining the Water Cooling System
Regular maintenance ensures the longevity and performance of the water cooling system. This section provides maintenance tips to keep the setup running smoothly.
1. Checking Coolant Levels
- Top Off Regularly: Over time, coolant may evaporate, especially in warmer environments. Check the reservoir periodically and top off with the same coolant if needed.
2. Cleaning the Radiator and Fans
- Dust Accumulation: Dust can reduce airflow through the radiator, impacting cooling efficiency. Clean the radiator and fans every few months using compressed air or a soft brush.
3. Flushing the System
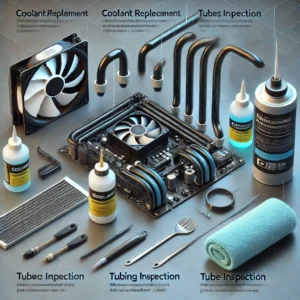
- Coolant Replacement: Replace the coolant every 6-12 months to prevent buildup of contaminants. Drain the system, rinse with distilled water, and refill with fresh coolant.
4. Inspecting Fittings and Tubing
- Leak Prevention: Periodically check fittings for signs of wear or loosening. Inspect tubing for discoloration, which may indicate coolant degradation or algae buildup.
5. GPU and CPU Block Maintenance
- Cleaning Blocks: Every year or so, disassemble the water blocks to remove any internal buildup. Clean with isopropyl alcohol and reassemble carefully.
Frequently Asked Questions (FAQ)
- Is water cooling better than air cooling for all PCs?
Water cooling provides superior cooling performance but is generally only necessary for high-performance PCs. Standard PCs used for everyday tasks typically do not require water cooling. - How difficult is it to install a water cooling system?
Installing a water cooling system requires some technical knowledge and patience. Beginners can follow detailed tutorials, but it’s recommended to take time with each step to avoid mistakes. - What happens if a leak occurs?
Leaks can damage PC components, which is why leak testing is crucial. If a leak is detected, turn off the PC immediately and fix the issue before continuing. - How often should coolant be replaced?
Coolant should be replaced every 6-12 months, depending on the coolant type and environmental conditions. Regular replacement helps prevent corrosion and microbial buildup. - Can any coolant be used for PC water cooling?
It’s essential to use coolant designed for PC water cooling. Standard automotive coolant or other liquids may damage components or reduce cooling efficiency.
Additional Resources for Water Cooling Enthusiasts
- EKWB Custom Loop Configurator
EKWB’s Custom Loop Configurator allows users to design a custom water cooling loop tailored to their PC case and components. - JayzTwoCents YouTube Channel
JayzTwoCents offers tutorials and insights on PC building, including water cooling guides. Check out his YouTube Channel for more. - PCPartPicker
PCPartPicker is a tool for selecting compatible parts for a PC build, including water cooling components. - Corsair Water Cooling Guide
Corsair’s guide on water cooling offers information on custom and AIO cooling solutions. Visit Corsair’s website for details. - Overclock.net Forum
Overclock.net is a forum where enthusiasts discuss water cooling setups, troubleshooting, and maintenance tips. Visit Overclock.net for community support.
Setting up a DIY water cooling system offers significant benefits in cooling performance, noise reduction, and customization. This guide has outlined the components, installation process, and maintenance requirements, providing a comprehensive roadmap for PC enthusiasts. Water cooling can enhance stability under load, allowing users to push their systems to new performance heights.
While installing a water cooling setup requires time and care, the results are often rewarding. With regular maintenance, a water-cooled PC can maintain peak performance for years. By following this guide, readers are well-equipped to tackle the installation and enjoy the benefits of a high-performance, customized cooling solution.

